In this blog post I will give a short overview how to downgrade the Microsoft Teams module in your Azure Automation account. Why you should do this? Assume you have developed a solution for some Microsoft Teams automations. You are using the Teams PowerShell module in some of your scripts. After a few months running the solution very smoothly, you decide to upgrade the PowerShell module in your Automation Account. And from that time on, your scripts don’t work anymore. Microsoft updates version 2.3.1 to the current release and some command-lets or parameter changed. Of course, we can update our solution but it is better to get a working solution in a short period of time and to find a solution in a lab environment.

Part 1 – Remove the updated module in your Azure Automation Account
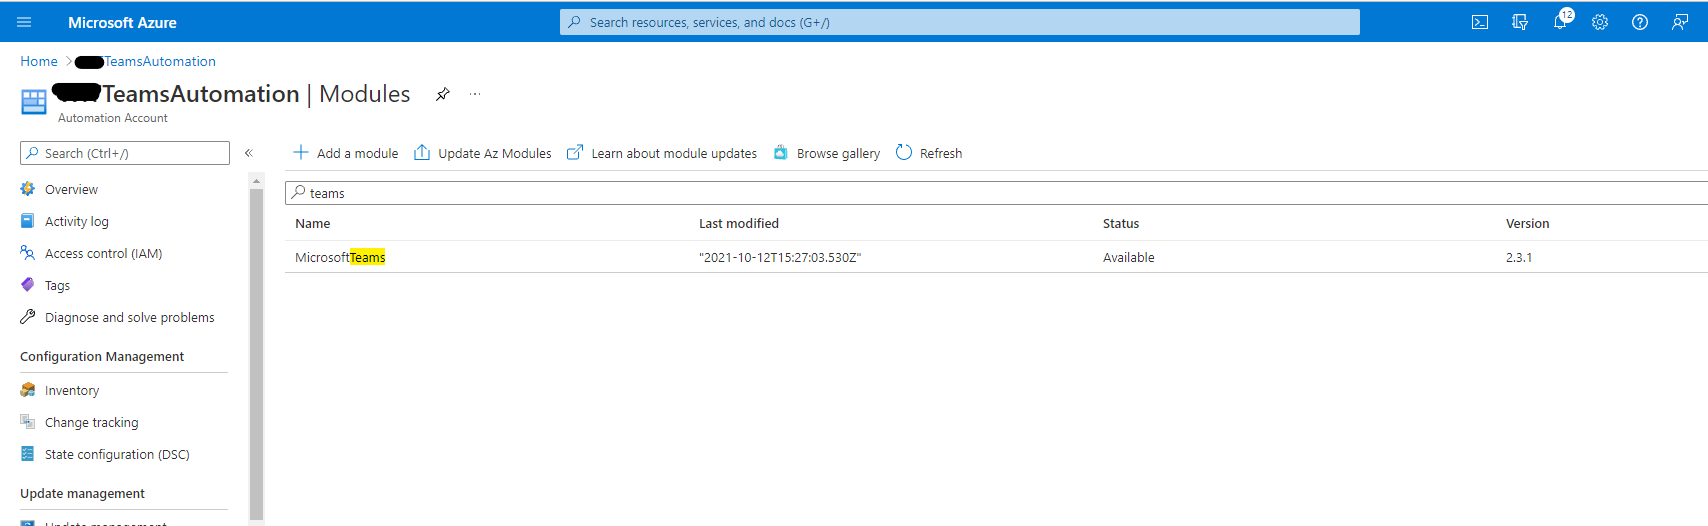
To rescue our solution in a workaround, we need to uninstall the updated PowerShell module first. To do so, go in your Azure Automation Account into the module section. Search for your updated module and delete it.

Part 2 – Download the Microsoft Teams PowerShell module that works for your
Next, we need to install the working version of the Microsoft Teams PowerShell module, for example version 2.3.1. You can find a history of all Microsoft Teams PowerShell modules in the PowerShell gallery. Download the correct version from here. Of course, you can try to install the correct version directly in your Azure Automation Account. But some reason, this feature doesn’t work so well and I had to install it manually. Rename the file extension nupgk file into ZIP.

Part 3 – Install the working PowerShell module in your Azure Automation Account
Now we are able to upload this ZIP file into our Azure Automation Account. Go to modules and click on Upload. Upload the file. Please wait till the panel shows the notification, that the upload succeeded. Otherwise, you have to upload it a second time.

Please give a well-known name like Microsoft Teams. Pay attention to avoid spaces, numbers or any other special characters in the module name field.

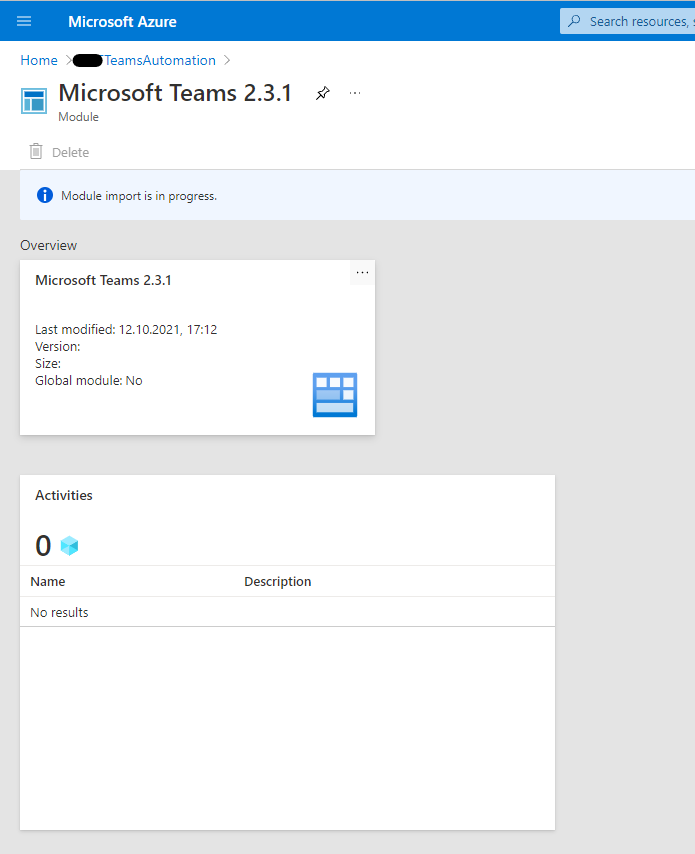
And now wait some minutes. Azure will extract the package and install it in your environment in the background. Even Azure is showing the module as available, it takes some minutes till all 300 command lets (in case of version 2.3.1) are imported successfully.
Afterwards you can try to start your solution and hopefully it’s running smoothly again and will do your automation job. Hopefully the downgrade of the Microsoft Teams module in your Azure Automation account solved the problem.
